We visited the Rocky Mountain National Park in August 2021. We spent the whole day there, and in this post, I will share how we planned our RMNP visit and how I will do it next time.
We visited the Rocky Mountain National Park on the second day of our trip. It is known for the Trail Ridge Road, Bear Lake section, and the Alpine visitor center. In this video, I will share some moments throughout the journey.
It was a one-day visit, driving from one entrance to the other. People usually take the East Entrance, which is near Bear Lake, and go up to the Alpine Visitor Center via the renowned Trail Ridge Road. We did a similar and returned back to the Bear Lake section in the late afternoon as it offers more hiking options at close distances.
Pre-visit: RMNP Reservation
RMNP requires an early reservation, and reserving your spot a few weeks before your planned date is better. However, we did it the previous night and had to pick an entry time between 11 AM and 12 PM without permission for Bear Lake. However, we reached there at around one since we took some breaks. The entry time is not followed strictly, so it is okay to enter anytime after your reserved entry time. From the recreation.gov site, you can reserve your permission.
Book your spot from here:
https://www.nps.gov/romo/planyourvisit/timed-entry-permit-system.htm
We entered the park through the Estes Park Beaver Meadows Entrance, located at the right corner of the red line. The regular fee at the checkpoint is 25$. However, we bought the annual pass for any national park (80$). If you plan to visit multiple national parks in a year, this is the best discount.
There are many viewpoints throughout Trail Ridge Road. Also, the Milner pass hike is close to the Alpine visitor center. Taking the road, you can visit the Grand Lake at the end of the day. However, we returned back to the Bear Lake section and spent time there until evening.
Drive through the East Entrance
There are mainly two entrances from two different sides. The most popular one is the East Entrance. The other one is from the side of the Grand Lake.
Driving from one entrance to the other is a great option to cover the whole paved way in a day while taking breaks at the viewpoints and sometimes doing a little hike.
Overlooks
Rainbow curve
From Rainbow Curve Viewpoint, we could see the Horseshoe Park, Deer Mountain, and the Mummy Mountain range.
Forest Canyon Overlook
While walking towards the Forest Canyon Overlook, in the end, you can have a panoramic view at 11,716 feet! It’s almost a 4-5 minute walk to the end. The noticeboard suggests staying on the paved asphalt trail to protect the fragile alpine tundra areas.
Alpine Visitor Center
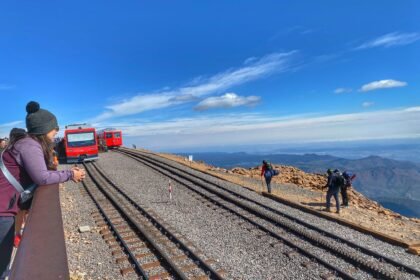
The Alpine Visitor Center is located 11,796 feet above sea level. It is almost the highest point of the entire Trail Ridge Road. This is just a view near the parking.
There is also a panoramic 360 view on top of that area, which requires a few minutes of hiking. Here is a picture from the near-top stair.
Bear Lake
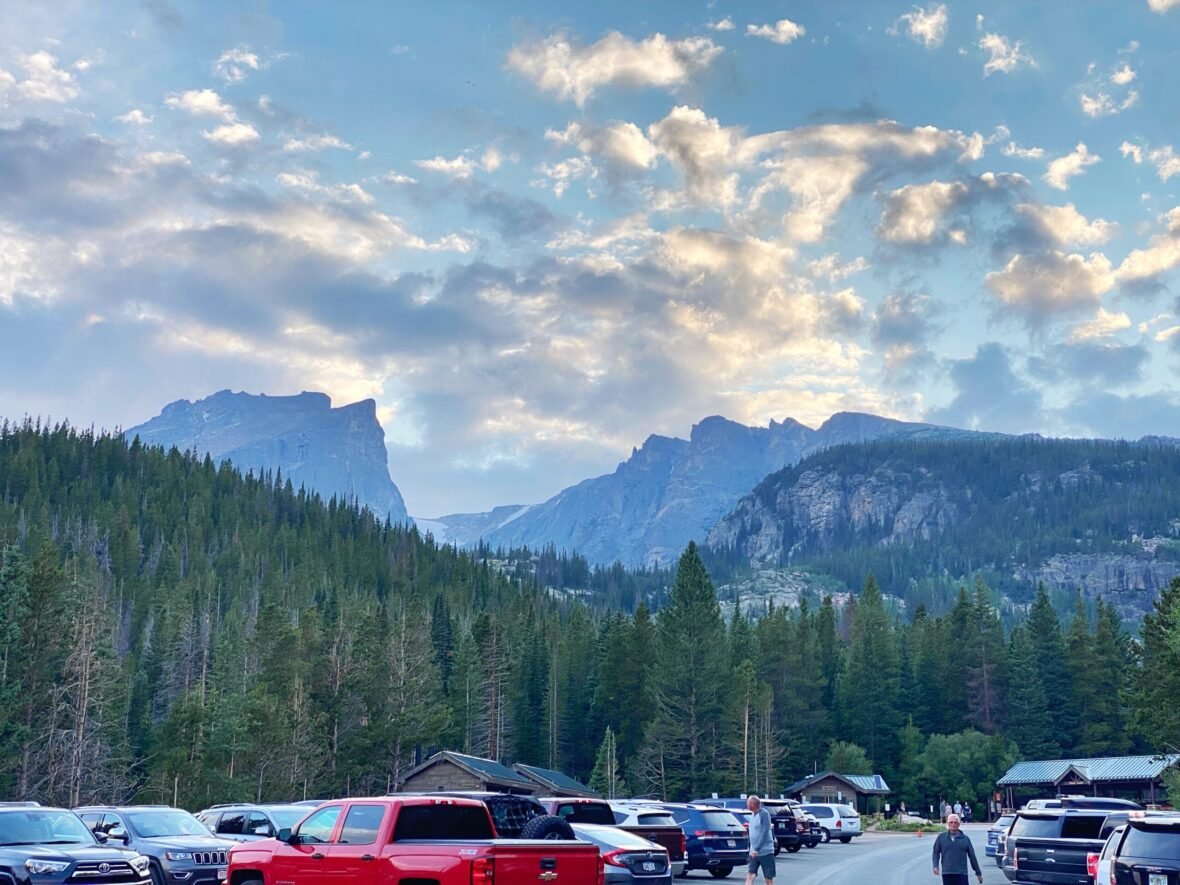
Based on their survey, the Bear Lake section is one of the most popular areas and has comparatively fewer parking spots. It is close to the Beaver Meadows entrance point. Since we did not have permission, it was after 6 PM that we could enter the Bear Lake section. So, definitely book your reservation as early as possible.
First, we visited the Bear lake. It’s the closest one to the parking.
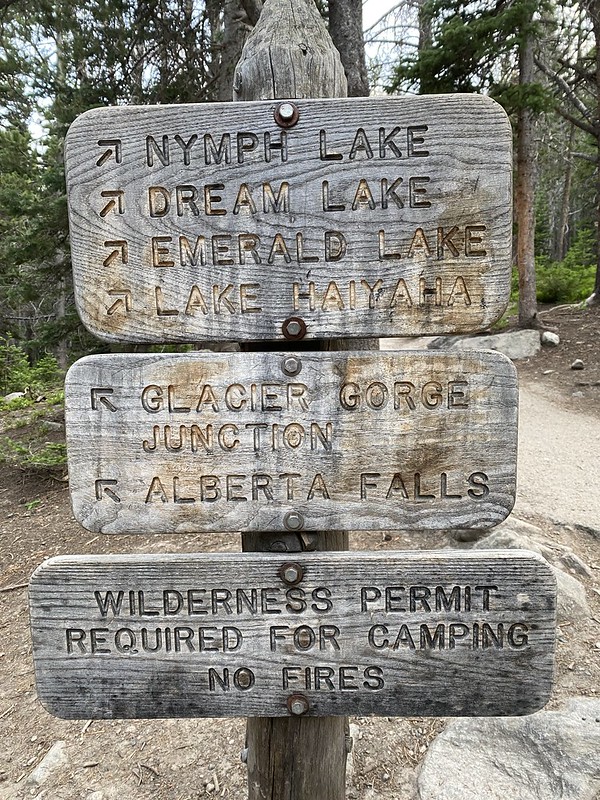
There are also many other short and long hikes from here.


Hiking Alberta Falls
We hiked to one of the closest waterfalls- Alberta Falls. Here is the trail map: https://www.alltrails.com/trail/us/colorado/alberta-falls-trail
This waterfall only has around a mile roundtrip time, and we hiked in the late afternoon, right before dusk. It was a pleasant experience throughout the trail, and we enjoyed it much. So, even though you’re a seasoned hiker, this is a sweet spot to explore.
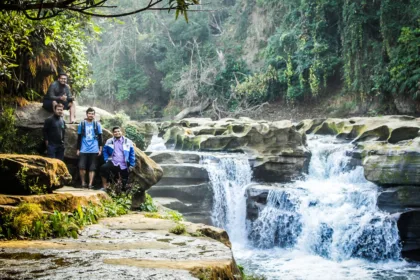
Here are some pictures we took at the final location.
Also, if you guys wanna watch my vlog on RMNP, just watch the following video.
Recommendations
I recommend Expedia, one of the best travel booking sites for hotel, car, and flight bookings.
Find my vlogging gear, hiking gear, and tech essentials here.
Also, read the Reasons Why I Chose WordPress for My Travel Blog.
Hostinger offers cheap hosting and a domain (almost free) compared to other providers, and I feel better using their services. If you want to host your blog on their platform, feel free to use my referral link for Hostinger.
Disclosure: This page may contain affiliate links. This means I get a commission if you purchase something through my links at no cost to you. Please read my disclosure for more information.


